Setting Up Homelab on Virtual Box
For this lab, I will go over setting up Virtual Box 7.0.1 and creating a VM (Virtual Machine) for Windows Server.

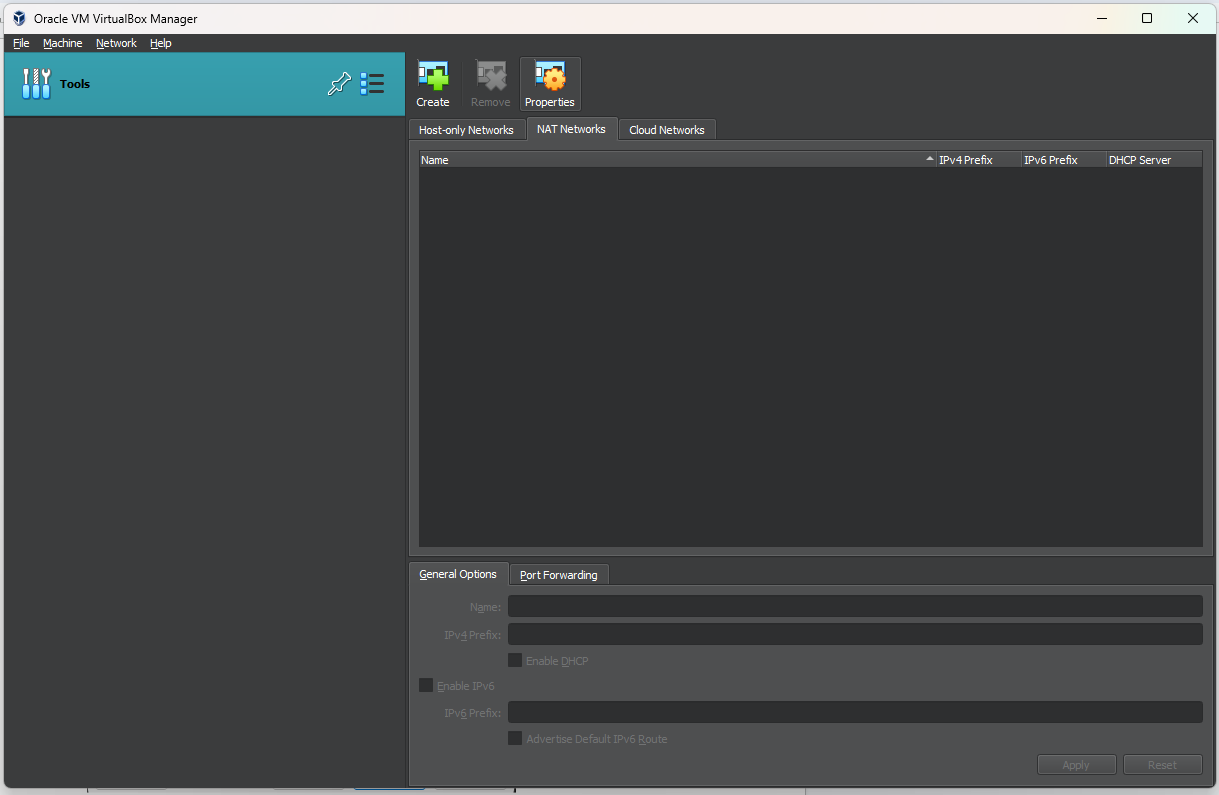
In Virtual-Box, I will need to create a NAT Network. The NAT Network is important because the VMs need to communicate with each other. To create a VM select File > Tools > Network Manager. Click the "Create" button on the top left.
.png)
Great, now that I have created the NAT Network. I need to go into the settings to change the Network the machine is attached to. Okay, so "attached to" should be NAT Network. Then the Name should be Nat Network and click the "Okay" button.
.png)
There is a blue icon on the top of Virtual Box. Click on it to create a Virtual Machine. I need to set a name for the Virtual Machine here.
.png)
Here I will allocate the base memory in the hardware dropdown. The base memory is the amount of RAM you want to use. There is also the processing power you can change as well. Both Base Memory and the Processor controls how smooth and powerful the machine is.
.png)
In the Hard Disk dropdown. I can set how much Disk space I want the VM to use. For now, I will leave the disk space at 50 GBs. If needs be, I can increase Virtual Machine's hard disk memory.
.png)
Back to settings, I will load the ISO to the VM through the storage option. So, once I get to the storage, I click on the disk icon, and there will be another near the Optical Drive drop-down. Click that icon, and there will be a drop-down of some folders. The folder I will choose is Choose a disk file. I will find and use the Windows Server ISO file.
.png)
Cool, going to click the "Okay" button, and now my Virtual Machine is finally ready to start.
.png)